How Do You Make Homemade Bread from Scratch? – Perfect Every Time!
Baking homemade bread from scratch is a journey filled with the kind of simple joy that brings families together. The sight of dough rising, the feeling of kneading between your hands, and the smell of bread baking in the oven are experiences that make this craft special. If you’ve ever wondered how to make homemade bread from scratch, this guide will take you through every step, ensuring you not only get a perfect loaf but also enjoy the process along the way. Whether you’re a seasoned baker or just getting started, you’ll find everything you need right here.
Why Make Homemade Bread? – The Benefits of Baking from Scratch


When you choose to make bread from scratch, you’re doing more than just baking; you’re creating something from the heart. But the benefits go beyond the emotional satisfaction. Here’s why homemade bread is worth the time and effort:
Taste and Freshness
One of the most satisfying parts of homemade bread is the taste. The freshness of a loaf baked at home can’t be compared to anything you’ll find on a store shelf. When you bake your own bread, it’s soft, warm, and filled with flavor. You can experiment with different ingredients like herbs, cheese, or even dried fruits to elevate the flavor profile.
Control Over Ingredients
Another reason to make bread at home is the control you have over the ingredients. Store-bought bread often contains preservatives, artificial flavors, and other additives that you simply don’t need. By baking your own bread, you can choose wholesome, organic ingredients and customize the bread to fit your dietary preferences.
Cost-Effective
Making bread at home is a cost-effective alternative to buying artisanal loaves. For the price of one store-bought specialty loaf, you could bake several homemade loaves. And when you bake bread in large batches, you’ll save even more. The basic ingredients—flour, yeast, salt, and water—are affordable and easy to source.
Satisfaction and Creativity
Baking bread from scratch is a creative outlet. You get to experiment with different types of bread, whether you prefer a crusty sourdough, a soft sandwich loaf, or a hearty whole wheat loaf. The process is not just about making bread; it’s about creating something from scratch that you can share with others.
Essential Ingredients for Homemade Bread
Before you begin, it’s important to understand the essential ingredients that will turn simple components into the perfect loaf of homemade bread. Below is a breakdown of each ingredient and why it’s necessary:
Flour
Flour is the foundation of any bread. There are several types of flour you can use, depending on the bread you’re making. Bread flour, which has a higher protein content, creates a chewy and elastic texture that’s perfect for most bread recipes. However, if you’re after a more delicate texture, you can use all-purpose flour. You can even experiment with whole wheat flour or other specialty flours, like rye.
Yeast
Yeast is responsible for making the dough rise. There are two main types of yeast: active dry yeast and instant yeast. Active dry yeast requires activation in warm water before mixing into the dough, whereas instant yeast can be added directly to the dry ingredients. Both work well, but instant yeast is often preferred for its ease and quick action.
Water
Water helps to activate the yeast and bring the dough together. The temperature of the water is crucial—it should be warm, around 110°F, to activate the yeast without killing it. Too hot, and you’ll risk harming the yeast; too cold, and the yeast won’t activate properly.
Salt
Salt not only enhances the flavor of your bread but also regulates yeast activity. It helps the dough rise slowly and evenly and contributes to a balanced, flavorful loaf. Be sure to measure carefully too much salt can inhibit the yeast’s action, while too little may result in bland bread.
Optional Ingredients
While not essential for all bread recipes, ingredients like sugar, honey, olive oil, and butter can add flavor, texture, and richness to your bread. These ingredients are often used in sweeter breads or to achieve a softer, more tender loaf.
Table of Ingredients for Homemade Bread
| Ingredient | Quantity | Purpose |
|---|---|---|
| Bread Flour (or All-purpose Flour) | 4 cups (480g) | Provides structure and texture. |
| Active Dry Yeast | 2 ¼ teaspoons (7g) | Leavening agent that helps the bread rise. |
| Salt | 1 ½ teaspoons (9g) | Enhances flavor and regulates yeast activity. |
| Water | 1 ½ cups (360ml) | Activates the yeast and forms the dough. |
| Olive Oil (optional) | 2 tablespoons (30ml) | Adds flavor and softness to the bread. |
| Sugar (optional) | 1 tablespoon (15g) | Helps activate the yeast and adds slight sweetness. |
Step-by-Step Guide to Making Homemade Bread
Now that you know what goes into your bread, it’s time to roll up your sleeves and start baking. This step-by-step guide will walk you through the process, ensuring that you end up with a perfectly baked loaf.
1. Preparing the Dough
- Mix the Dry Ingredients: Start by combining your flour, yeast, and salt in a large bowl. If you’re using sugar, add it in as well. This is your dry mixture.
- Add Water: Slowly pour in your warm water (about 110°F) into the dry ingredients, stirring gently until it all comes together. You may need a little more or less water depending on your flour, so add it gradually.
- Form the Dough: Stir until the dough forms a shaggy mass. Don’t worry if it looks rough—it will come together during the kneading process.
2. Kneading the Dough
- Turn the Dough Out onto a Floured Surface: Dust your countertop with a little flour, and turn the dough out onto the surface.
- Knead by Hand or Stand Mixer: If kneading by hand, fold the dough over itself and push down, then rotate and repeat. You’ll need to knead for about 8-10 minutes until the dough becomes smooth and elastic. Alternatively, use a stand mixer with a dough hook for a more hands-off approach.
- Check the Dough: When the dough is ready, it should be soft, smooth, and slightly tacky but not sticky. If it’s too sticky, add a little more flour, but be careful not to add too much.
3. The First Rise (Bulk Fermentation)
- Let the Dough Rise: Place the dough into a lightly oiled bowl, cover it with a clean cloth, and leave it in a warm, draft-free spot to rise for 1-2 hours. The dough should double in size.
- Why the First Rise Is Important: During this time, the yeast ferments the sugars in the dough, creating carbon dioxide, which causes the dough to rise. This also develops the flavor.
4. Shaping the Dough
- Punch Down the Dough: Once your dough has risen, punch it down to release the trapped air. This step helps to create a better texture in the final loaf.
- Shape Your Dough: Turn the dough out onto a floured surface again and shape it into a loaf. You can shape it into a round, oval, or any shape that fits your baking pan.
5. The Second Rise (Proofing)
- Rest the Dough: Place your shaped dough onto a greased baking pan or a parchment-lined tray. Cover it with a cloth and allow it to rest for 30-60 minutes. It should rise again, but not double in size.
6. Baking the Bread
- Preheat Your Oven: While the dough is rising, preheat your oven to 375°F (190°C). For a crisper crust, place a shallow pan of water on the lower rack of the oven to create steam.
- Bake the Bread: Place your loaf into the oven and bake for 25-30 minutes. The bread should be golden-brown and sound hollow when tapped on the bottom.
7. Cooling the Bread
- Let the Bread Cool: After baking, remove your loaf from the oven and place it on a wire rack to cool for at least 15 minutes before slicing. This allows the bread to finish cooking inside and prevents it from becoming gummy.
Troubleshooting Common Bread-Making Problems
Even experienced bakers face challenges sometimes. Here’s how to troubleshoot some common issues you may encounter:
- Dense Bread: This could be due to insufficient kneading, using the wrong flour, or under-proofing the dough. Make sure you knead the dough properly and allow it to rise fully.
- Flat Loaf: If your loaf is too flat, it could be due to old yeast, over-proofing, or not enough yeast. Be sure to use fresh yeast and follow the recommended rising times.
- Cracked Crust: A cracked crust can happen if the dough is handled too roughly during shaping or if the oven temperature is too high. Try lowering the temperature or handling the dough more gently.
Bread Variations You Can Try
Once you’ve perfected your basic homemade bread, you can start experimenting with variations to suit your taste:
Whole Wheat Bread
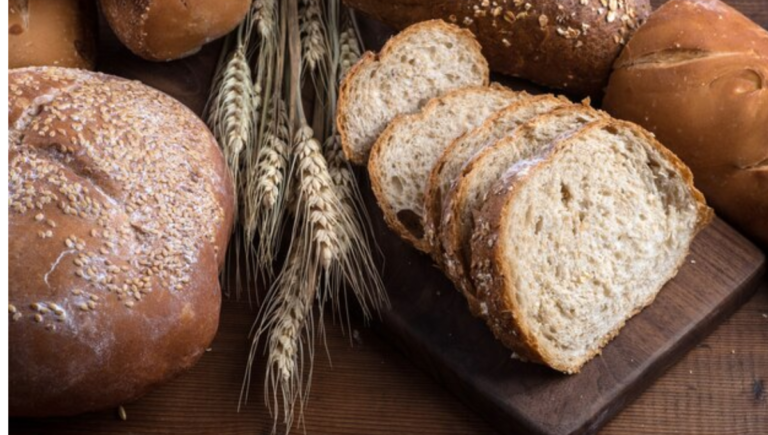
Whole wheat flour gives the bread a denser texture and a more robust flavor. To achieve the best results, use a mix of whole wheat and white bread flour.
Sourdough Bread
Sourdough is a more advanced option, but it’s worth the effort. It involves cultivating a sourdough starter a mixture of flour, water, and wild yeast that ferments over time.
Herb and Garlic Bread
Add flavor to your bread by mixing in finely chopped herbs (like rosemary or thyme) and roasted garlic. This makes for a savory loaf that pairs well with pasta or soup.
Sweet Bread Options
Try making sweet bread varieties, such as cinnamon rolls or challah. These breads often use milk, butter, and sugar to create a rich, tender crumb.
Storing Your Homemade Bread
After all your hard work, you’ll want to know how to store your bread to keep it fresh.
- Store at Room Temperature: Bread stays freshest when stored in a bread box or wrapped in a cloth. Avoid storing it in plastic bags, as this can make the crust soft.
- Freezing Homemade Bread: To preserve your bread longer, slice it and freeze it. Wrap it tightly in plastic wrap and place it in a freezer-safe bag. When you’re ready to enjoy it, simply toast or reheat the slices.
- Reviving Stale Bread: If your bread has gone stale, spritz it with a little water and bake it at 350°F for 5-10 minutes to bring back some of its original texture.
FAQ Section – Your Homemade Bread Questions Answered
Can I use whole wheat flour to make homemade bread?
Yes, whole wheat flour can be used for bread, but you may need to adjust the amount of water or yeast. Whole wheat flour absorbs more water, so you might need to add more liquid.
How can I make my bread rise faster?
Try placing your dough in a warm area or using instant yeast. You can also preheat your oven and place the dough inside to rise more quickly.
What is Cloud Fluffy Brioche?
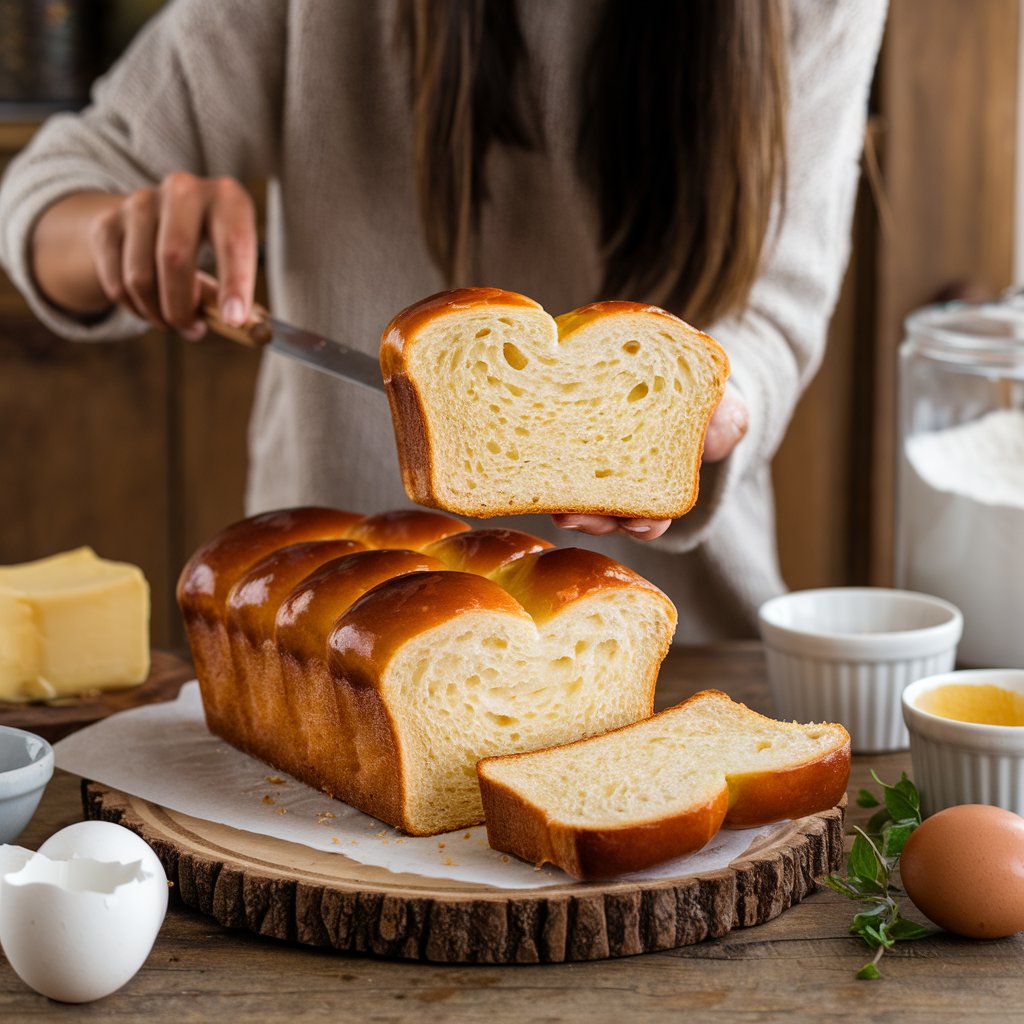
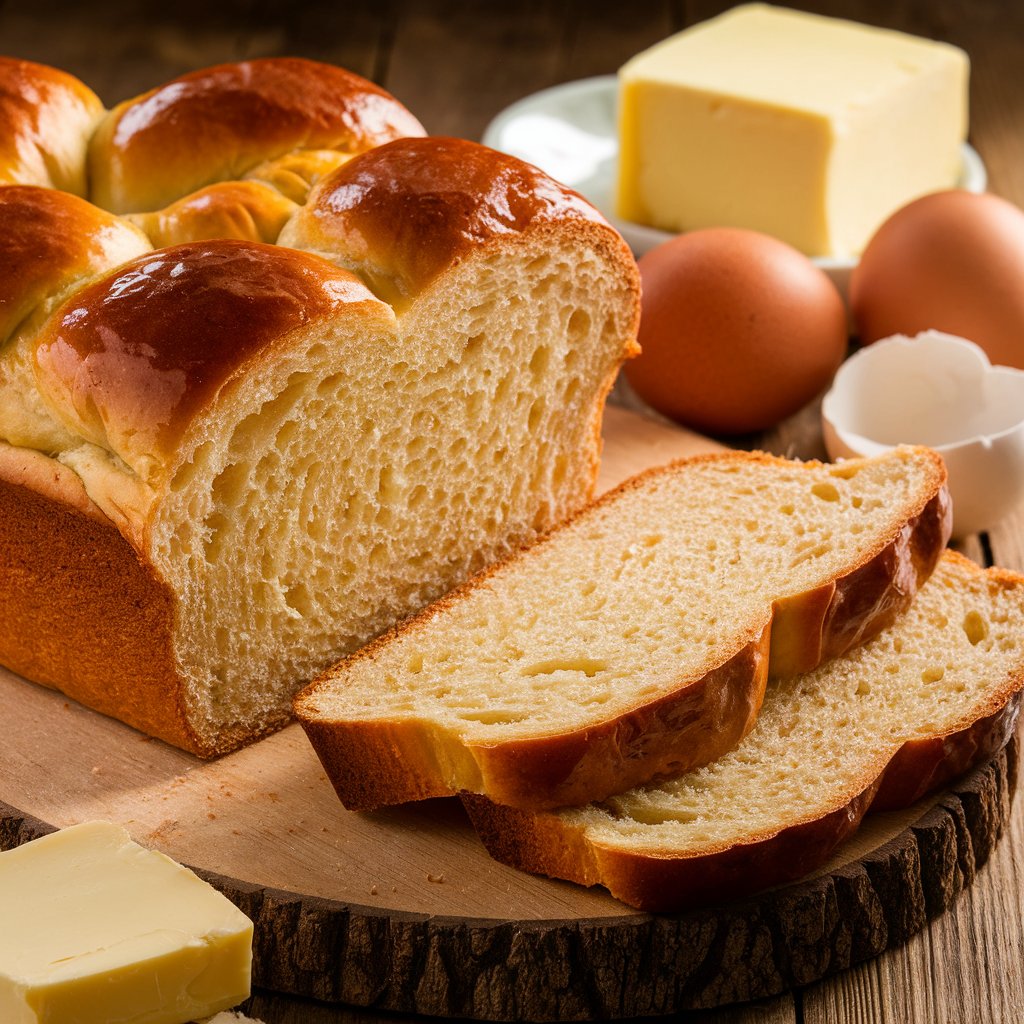
Cloud Fluffy Brioche is a soft, buttery, and irresistible bread that’s known for its light, airy texture and rich flavor. It’s a bit more complex than regular homemade bread, requiring ingredients like eggs, butter, and milk, which make it tender and delicious. Perfect for breakfast or a special treat, this brioche will melt in your mouth! You can find the full recipe here.
How do I know when my bread is fully baked?
Your bread should have a golden-brown crust. When you tap the bottom, it should sound hollow. If you’re unsure, you can use a thermometer bread is done when it reaches an internal temperature of 190°F.
Conclusion
Making homemade bread from scratch is a rewarding and therapeutic experience that you’ll want to repeat time and time again. With the right ingredients, a little practice, and patience, you can create perfect loaves right in your kitchen. Whether you’re baking for a special occasion, to share with family, or just because, there’s something deeply satisfying about enjoying bread that you’ve made from start to finish. So, grab your ingredients, get started, and let the aroma of freshly baked bread fill your home!
