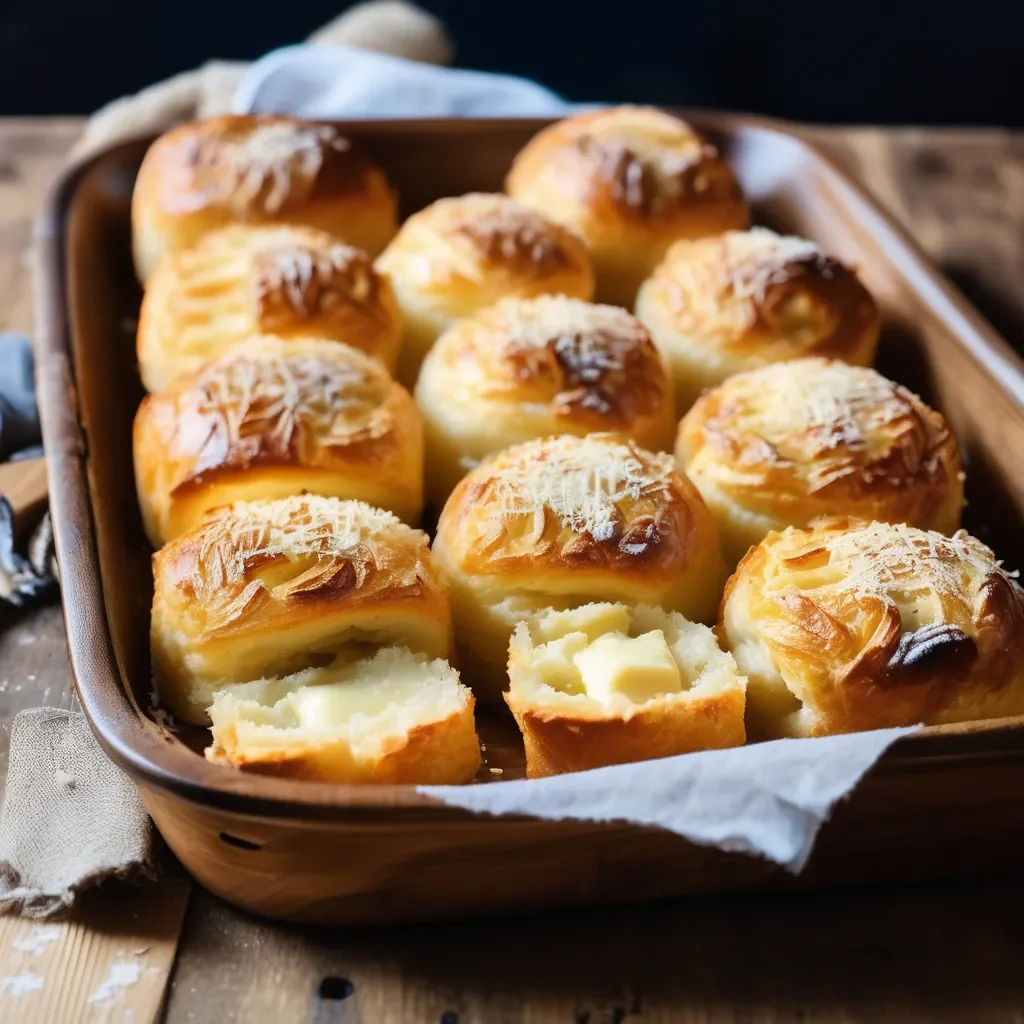
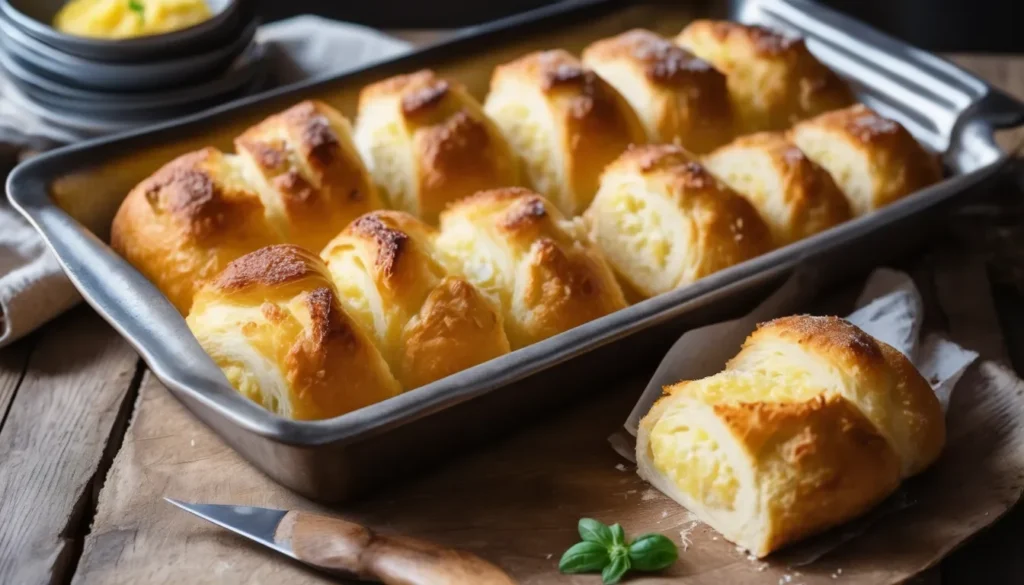
When it comes to comfort food, there’s something incredibly satisfying about freshly baked rolls. Imagine a warm, fluffy roll with a crispy, golden crust, perfect for dipping in soups, stews, or served alongside your favorite dishes. Gratin Loin Rolls baked to perfection in your oven are exactly that indulgence, and once you’ve tasted them, you’ll never look at dinner rolls the same way again.
If you’re wondering whether making your own rolls is worth the effort, let me tell you: it absolutely is. Gratin Loin Rolls bring not only comfort but also flavor and texture that you just won’t get from store-bought varieties. Plus, the recipe is surprisingly simple and beginner-friendly, making it a perfect project for anyone who’s new to baking.
In this post, I’ll guide you through every step of making Gratin Loin Rolls, from mixing the dough to shaping, baking, and serving them with your favorite meals. Let’s dive in!
Why Gratin Loin Rolls Are Worth the Effort
If you’ve ever enjoyed a soft, oven-baked roll with a deliciously crispy outer layer, you know why these rolls are special. Gratin Loin Rolls are made using a method that ensures a perfect balance between a fluffy interior and a satisfying golden crust. The technique of brushing the rolls with a mix of melted butter and parmesan before baking creates an irresistible gratin topping.
In this section, we’ll take a closer look at what makes these rolls different from your average dinner roll and why they’re worth the extra time. Gratin Loin Rolls offer a richer, more indulgent flavor, making them an ideal choice for any meal, from simple weeknight dinners to more elaborate holiday feasts.
Step-by-Step Guide to Making Gratin Loin Rolls
Baking these rolls is an enjoyable process that involves a few essential steps. Here’s how you can make these delicious Gratin Loin Rolls from scratch.


1. Gather Your Ingredients
Before you start, make sure you have all the ingredients ready. Here’s what you’ll need:
| Ingredient | Amount |
|---|---|
| All-purpose flour | 3 cups |
| Active dry yeast | 1 packet (2 ¼ tsp) |
| Salt | 1 tsp |
| Sugar | 2 tbsp |
| Warm milk | 1 cup |
| Butter (melted) | ¼ cup |
| Large egg | 1 |
| Grated parmesan cheese | ½ cup |
2. Prepare the Yeast Mixture
In a small bowl, dissolve the yeast and sugar in warm milk. Let it sit for about 5 minutes or until it becomes foamy. This step is crucial because it activates the yeast and ensures that your rolls will rise properly.
3. Mix the Dry Ingredients
In a large mixing bowl, combine the flour and salt. Make a well in the center, and add the yeast mixture, melted butter, and the egg. Stir with a wooden spoon until the dough starts to come together.
4. Knead the Dough
Once the dough has formed, transfer it to a floured surface and knead for about 8-10 minutes until it’s smooth and elastic. You can also use a stand mixer with a dough hook to save time. If the dough is too sticky, sprinkle a little more flour, but be careful not to add too much, or the rolls might turn out dense.
5. First Rise
Place the kneaded dough in a greased bowl, cover it with a clean kitchen towel, and let it rise in a warm place for about 1 hour or until it has doubled in size. This first rise is essential to develop the dough’s texture and flavor.
Shaping and Baking the Gratin Loin Rolls
Now that your dough has risen, it’s time to shape the rolls and bake them to perfection.
6. Shape the Rolls
Once the dough has doubled in size, punch it down gently to release any air bubbles. Divide the dough into equal portions usually about 12-16 pieces, depending on your preferred roll size. Roll each piece into a ball by tucking the edges underneath to create a smooth, round top. Arrange the rolls in a greased baking dish, leaving a little space between each roll to allow them to expand.
7. Second Rise
Cover the rolls with a towel and let them rise for another 30-45 minutes. During this second rise, the rolls will become puffy and airy, creating that light texture inside.
8. Prepare the Gratin Topping
While the rolls are rising, prepare the gratin topping. In a small bowl, mix the melted butter with grated parmesan cheese and a pinch of salt. Once the rolls have finished their second rise, brush each one with the butter-cheese mixture. This step will give your rolls their signature crispy, golden crust.
9. Bake the Rolls
Preheat the oven to 375°F (190°C) and bake the rolls for 18-20 minutes, or until they are golden brown. Keep an eye on them, as the exact baking time can vary depending on your oven. The rolls should be crisp on top and soft inside.
Serving Your Gratin Loin Rolls
Once the rolls have cooled slightly, it’s time to serve them. These rolls are incredibly versatile and pair beautifully with a variety of dishes.
Pairing Gratin Loin Rolls with Your Favorite Meals
Gratin Loin Rolls aren’t just for dinners use them to complement a wide range of dishes:
- With Soups and Stews: Serve them alongside hearty dishes like Tater Tot Casserole or creamy Chicken Enchiladas.
- With Grilled Meats: These rolls are perfect for mopping up delicious juices from your favorite grilled steaks, chicken, or roasted meats.
- For Breakfast or Brunch: Try them with scrambled eggs, Stuffed Baked Potato Cottage Pie, or a fresh salad for a complete meal.
Pro Tips for Perfect Gratin Loin Rolls
As with any baking project, a few tips and tricks can make all the difference. Here are some suggestions to ensure your Gratin Loin Rolls turn out perfectly every time.
1. Be Patient with the Rise Times
Don’t rush the dough’s rise. Both the first and second rises are essential to achieving light, airy rolls. If you’re short on time, consider letting the dough rise in a slightly warmer environment, like near a heater or in an oven with the light on.
2. Experiment with Flavors
Feel free to play around with the flavor of the gratin topping. Add garlic powder, fresh herbs like rosemary or thyme, or even cheddar cheese for a different twist on the classic recipe.
3. Use Fresh Yeast
To ensure your rolls rise properly, use fresh yeast. If you’re using active dry yeast, always proof it in warm water with sugar before adding it to the dough.
4. Don’t Skip the Butter-Brushing Step
The buttery, cheesy topping is what makes Gratin Loin Rolls stand out. Don’t skip this step—it’s essential for that golden, crisp finish.
Frequently Asked Questions About Gratin Loin Rolls
Here are some answers to common questions about making Gratin Loin Rolls.
Q1: Can I freeze these rolls?
Yes! After baking, let the rolls cool completely, then wrap them tightly in plastic wrap or store them in an airtight container. They can be frozen for up to three months. When you’re ready to enjoy them, simply reheat them in the oven for a few minutes to regain their crispy texture.
Q2: Can I make these rolls without butter?
Absolutely! You can replace the butter with olive oil or vegetable oil for a slightly different texture and flavor. While they won’t have that same rich, buttery taste, they’ll still be delicious.
Q3: How can I tell when the rolls are done baking?
The rolls are done when they’re golden brown on top and sound hollow when tapped on the bottom. You can also use a thermometer to check that the internal temperature has reached 190°F (88°C).
Q4: Can I make these rolls ahead of time?
You can prepare the dough up to the first rise, then cover it and refrigerate it overnight. The next day, let the dough come to room temperature before continuing with the shaping and second rise.
Q5: What can I pair these rolls with?
Gratin Loin Rolls go wonderfully with soups like Chicken and Broccoli Recipe, hearty stews, or grilled meats. They also make an excellent addition to any brunch spread.
**Conclusion: The Ultimate Comfort in Every
Bite**
Baking Gratin Loin Rolls at home is an incredibly rewarding experience. Not only do you get to enjoy the aroma of fresh, warm bread filling your kitchen, but you’ll also be rewarded with rolls that are far superior to anything you could buy at the store. Whether you serve them with a Tater Tot Casserole, a side of roasted vegetables, or simply on their own with butter, they’ll quickly become a staple in your home.
So, why wait? Grab your ingredients and start baking today! Your appetite will thank you.
